To read an Italian translation of this post, please click here
Restoration of a Commodore PET 8296 owned by our association member, Daniele Capursi.
The defect was the lack of three vertical pixels lines on all the characters printed on the screen.
On the web we found no trace of such a defect. For this reason, as we will see later, it would have become a source of multiple attempts to find the fault, involving almost all our members in the restoration process and in the following repair activity.
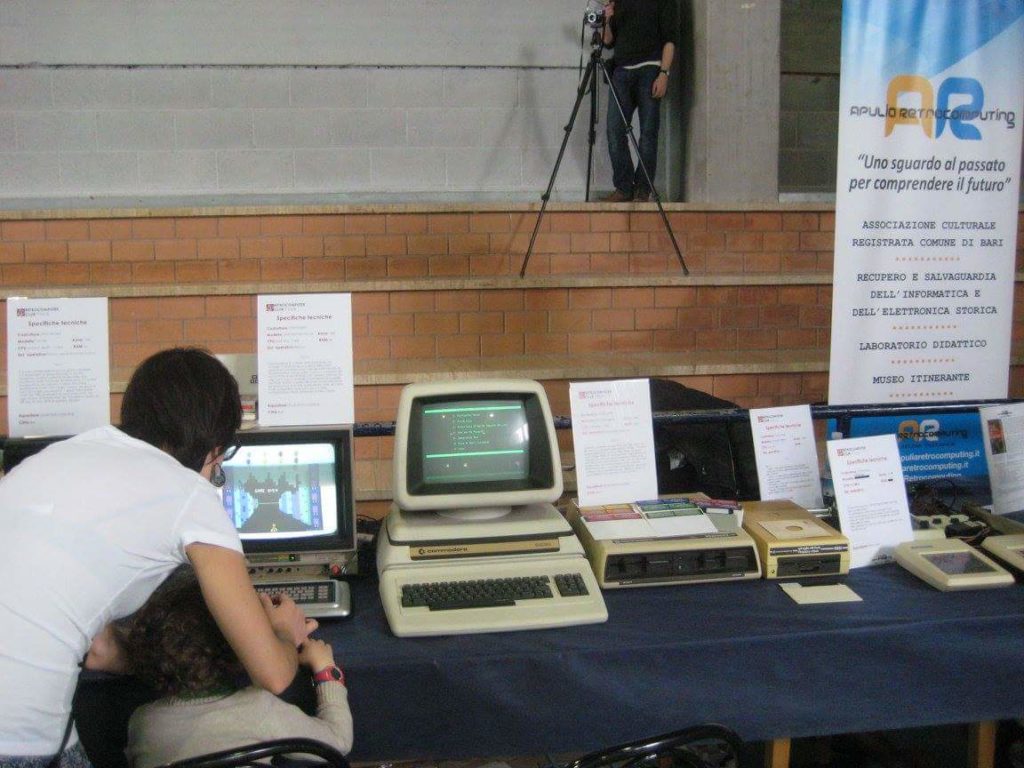
This history begins about two years ago, when we decided to attend the first Retrocomputer Club Italia (now Vintage Computer Club Italia) meeting, held in Rome during the spring of 2016. The historical value and its fantastic design led us to chose that PET, among the many Commodore machines available, to compose our stand. We wanted to celebrate the first public presentation of the book “Sulla Cresta del Baratro … La Spettacolare Ascesa e Caduta della Commodore” we published a few months before. We wanted the PET to show itself at its best. But, when we turned on the machine, a few days before the event, it was faulty.
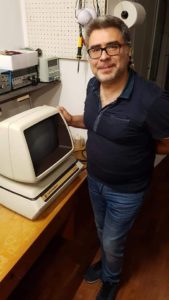
The computer owner (below)
and Antonio Caradonna (Laboratory Chief), tried to solve the problem by replacing the characters ROM, without success. The upcoming event was a few days later so there was no time to provide otherwise. The computer was exposed in Rome, even if it did not work 100%.
 Two years later the restoration project was always in the Antonio’s mind. In the spring of this year, finally, Daniele decided that the restoration must begin.
Excluding the fault was determined by the characters ROM, a visual inspection is carried out in the Laboratory.
Antonio then starts desoldering all the RAM chips in order to test them, descovering two defective chips.
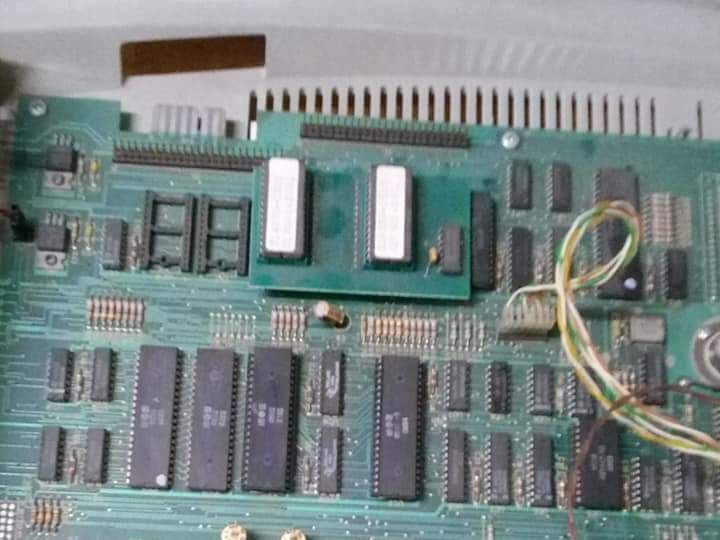
Once all chips were replaced, the defect is still there. Antonio then turns his attention to the two PLA (Progammable Logic Arrays) chips. These generate a series of memory and I/O enabling signals from other signals generated by CPU and by other subsystems, such as the video controller. It is well known that PLAs are affected by frequent failures. On this motherboard there are two eproms mounted on an adapter.
 We chose to remove the adapter in order to assemble a single chip performing the task of the two existing eproms. After a web search, 3 different solutions were found and tested. The only working one was that found on the zimmers.net site. But the defect is still there so Antonio makes the printed circuits for two adapters (one for each eprom) using the “press and peel technique” in order to be able to replace each PLA with a new eprom. He then replaces each PLA one by one. There no improvement in the video output, revealing the old PLAs are fully working.
So, the adapter and the PLAs are positioned in their place again.
After removing some logic (to test them),
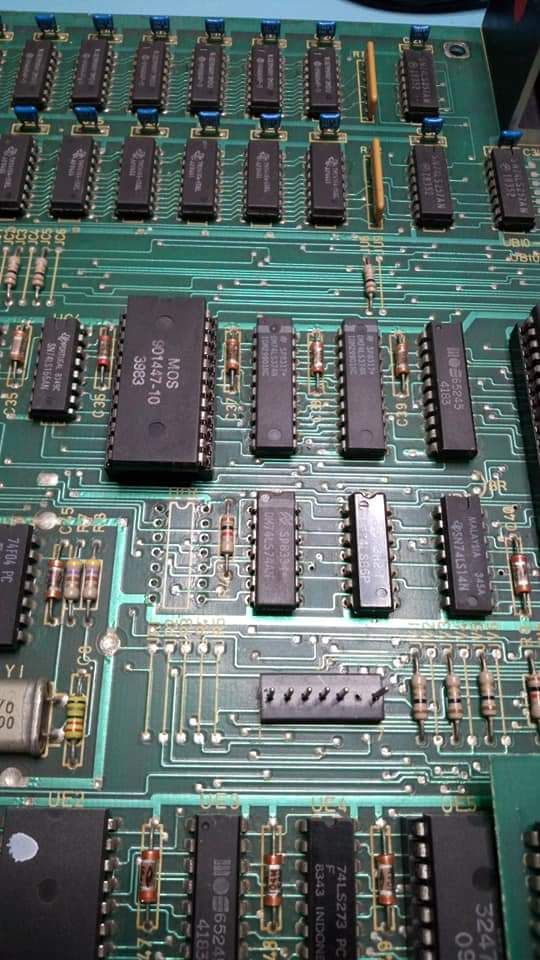
with the help of our senior association member Michele Perniola, after some oscilloscope measurements and an in-depth study of the video circuit schemes, we finally found that the responsable of the defect should be the 74ls166 chip (pictured below after its removal).
 We then raise all the data input pins from the socket so that we can proceed with the measurements when the machine is switched on. The screen becomes full of squares. Using a capacitor, we connect to ground each motherboard input hole: every time an horizontal video line disappears. After several tests, for three times the video output shows no changes, which means that there are several interruptions in the logic chip data flow.
Once the 74ls166 chip is replaced with a new one provided by our association member Alessandro Liberalato, the defect disappears.
The video signal, however, is unstable. Therefore, we need to replace some old capacitors on the monitor board. At last, the monitor is in full working order again as when it was just factory made!
